Once a turnip was almost the main product on the tables of our great-grandfathers. She was boiled, fried, steamed and eaten raw. The value of this vegetable is also in the long shelf life - in the cellar it will wait until spring, preserving vitamins, trace elements and useful qualities. And turnips have a lot of them - improving metabolism and helping to combat various inflammations. Our great-grandmothers used juice as a diuretic, painkiller and wound healing agent. Few people grow turnips today - everyone is busy experimenting with overseas curiosities. But as they say, the new is the well-forgotten old, so let's try to remember or find out all the nuances of planting turnips in open ground and caring for it: from choosing seeds to picking fruits.
Description and main characteristics of the plant
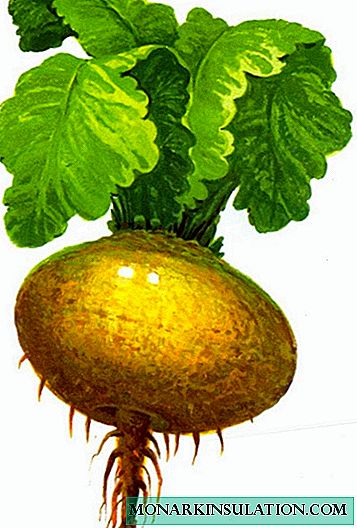
Turnip is a herbaceous plant of the cruciferous family, the genus is cabbage. The homeland of this vegetable is considered West Asia. It was there that the turnip was grown about four thousand years ago, and from there this plant spread around the world.
Turnip is a root crop, as its food is spherical root of white or yellow color. In the first year, the plant gives an edible root crop and a rosette of dissected hard leaves. The arrow with seeds appears only in the second year of cultivation, so turnip is considered a biennial plant.

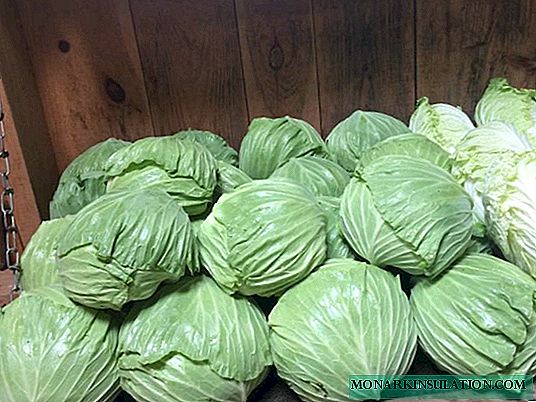
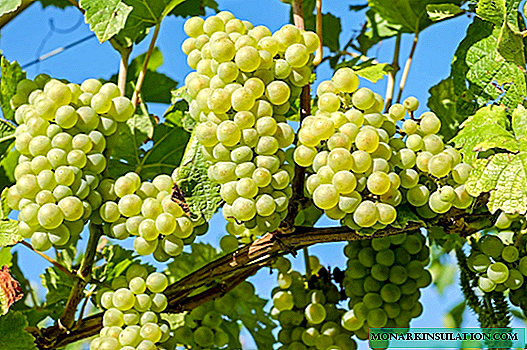
The weight of ripe turnips, depending on the variety, can reach 500 g or more
Ways to Grow Turnips
Turnips are sown twice a season - in spring, in April-May and in summer, at the end of June-July. In the first case, root crops are grown for fresh consumption, in the second for winter storage. Gardeners most often prefer to sow turnips directly into the ground, but in regions with a cold climate and short summers, it is possible to grow crops through seedlings. Instead of spring, many gardeners use winter sowing, which also gives good results.
Sowing seeds for seedlings
To grow turnip seedlings, it will take 1.5-2 months, so the sowing period can be calculated independently, taking into account the local climate. Turnip is a cold-resistant plant and it can be planted in the soil as soon as the soil warms up, so the seeds are sown, as a rule, in the second half of March. On purchased varieties, recommendations are always given on the timing and methods of sowing.
First you need to calibrate and disinfect the available seeds:
- Prepare a saline solution - 1 teaspoon of salt diluted in half a glass of water.
- Dip the seeds in the solution and mix - high-quality seeds will sink to the bottom.
- Drain the pop-up seeds and rinse the remaining ones several times with clean water.
- Pour good seeds into a solution of saturated pink potassium permanganate and stand for 20 minutes.
- Rinse the seeds with clean water.

In saline, good seeds sink to the bottom - they must be sown
Calibrated and disinfected turnip seeds are soaked for swelling for 2-3 days.
It is better to do this on a wet towel:
- Put a tissue in a plastic container or saucer.
- Arrange prepared seeds, cover with a napkin and moisten.
- Cover the container - loose so that air remains
Turnip prefers loose soils, so you can take ready soil for growing seedlings. But it is best to use peat tablets for these purposes, since turnip seedlings do not tolerate picking and transplanting. Seedlings grown in a tablet can easily be planted in open ground without injuring the root.
Step-by-step process of sowing seeds for seedlings:
- Peat tablets placed in a plastic container and pour water.
- To spread the seeds in swollen tablets - 2-3 pieces each.
- Cover the seeds with a small layer of soil.
- Cover the container with a plastic lid or plastic bag and put in germination in a cool, bright place with an air temperature of 10-15aboutFROM.
- After emergence, remove the lid or bag and grow as ordinary seedlings.

In swollen peat tablets spread turnip seeds
When the cotyledonary leaves are fully opened, it is necessary to remove the extra shoots. This is best done with scissors, carefully cutting off unnecessary sprouts, so as not to damage the delicate roots of plants. Before planting seedlings in open ground, it is important to water the seedlings in a timely manner. Peat tablets tend to dry quickly, so you need to inspect the seedlings regularly. After the appearance of the first real leaves, seedlings can be fed using fertilizers for seedlings of cabbage.
Three weeks before planting turnip seedlings in the ground, it is necessary to start hardening. To do this, it is taken out into the open air, first for 10-15 minutes, then, daily time is increased. When the seedlings can be in the air for a day - it is planted on a prepared bed.
Planting seedlings in open ground
Planting seedlings in open ground is not particularly difficult. On the prepared bed dig holes at a distance of 10-15 cm from each other and 25-30 cm between rows. A peat tablet with a seedling is lowered into a hole, dug with soil and watered. If seedlings were grown in glasses, then before planting in the soil, seedlings are spilled with water and carefully removed from the tank, trying not to disturb the earthen lump. Planted plants are watered and mulched.

Turnip seedlings grown in peat tablets easily transfers the transplant to the open ground
Seedlings are planted after the soil warms up, usually this is the middle or end of May. The best time to land is evening or a cloudy day.
Sowing seeds in open ground
For planting turnips, choose an open sunny area with loose loam or sandstone. A bed for spring sowing is prepared in the fall, for summer 2-3 weeks before sowing.
For digging at 1 m2 Soils contribute:
- ash 150 g;
- dolomite flour 250-300 g;
- compost or rotted manure 2-3 kg;
- nitrogen-phosphorus-potassium fertilizers 15 g each.
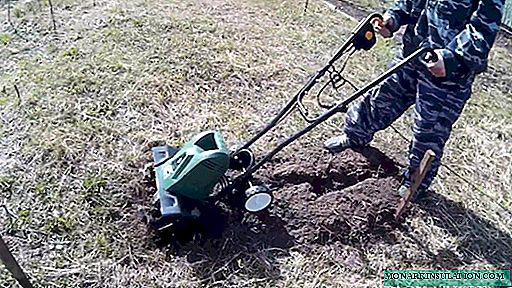
Video: How to plant a turnip
The dug up bed needs to be loosened up, and then to be condensed - to slightly roll up or slurp soil. Make small, 3-4 cm grooves at a distance of 25-30 cm from each other and spill them with water. Prepared (calibrated and soaked) seeds are sown in the usual lower case method or nest, spreading 2-3 seeds at a distance of 10-12 cm. The second method eliminates the need to subsequently thin out seedlings. It will only be necessary to remove the extra sprouts with scissors. Sprinkle grooves with seeds with a layer of soil 2-3 cm.

Turnip seeds are laid in prepared grooves
The sown bed is watered and covered with a film or agrofibre. Such a measure will accelerate the emergence of seedlings, but the film must be removed immediately as soon as the first sprouts appear, otherwise they may burn out in sunny weather. Agrofibre in this regard is much preferable - it will not only retain heat and moisture, but also protect young shoots from the sun and wind. Although many gardeners consider shelter for turnips superfluous and can easily do without it.
Further growing turnips does not require special training - there is nothing complicated about this. As soon as the crops sprout, it is advisable to sprinkle the aisles with wood ash to scare off the cruciferous flea.
Turnip does not like acidified soils, so liming must be done before planting. If this is not done, then the crop will be modest and will be poorly stored. For these purposes, it is desirable to use dolomite flour - it not only normalizes acidity, but also enriches the soil with useful trace elements of organic origin.
Winter sowing of seeds
Turnip is a rather cold-resistant plant - spring shoots appear at a temperature of + 3 + 5aboutFROM. Given this feature, many gardeners sow the seeds of this crop in the winter. This method allows you to get the first vegetables 2-3 weeks earlier than usual.
Seeds are sown after the first frost, usually in November. For this, the garden bed is prepared in advance, dug up and seasoned in the same way as for spring and summer sowing. Several buckets of land are placed in a greenhouse or room so that it remains unfrozen. Furrows are made on the aligned bed. When the ground freezes slightly, dry seeds are laid out a little thicker than with conventional sowing. The fact is that part of the seeds sown before winter will disappear, but the plants that have sprouted will be much stronger than those planted in the spring. After sowing, sprinkle grooves with prepared soil. In spring, seedlings are thinned, mulched and grown in the usual way.
Growing Features
Due to its unpretentiousness, turnip does not require special labor costs when growing. For a good harvest, it needs moist and loose soil, so irrigation and loosening of the soil cannot be avoided, but fertilizing should be done very carefully.
Top dressing
If before planting turnips, the bed was well seasoned with organic matter, then during the growing season it is enough to feed it with mineral fertilizers once or twice. Excess nitrogen, namely organic matter is rich in it, harms turnips - the fruits become clumsy, tasteless and with voids inside. Feeding is best done in liquid form at 1 m2 10 g of urea, 15 g of superphosphate and 10 g of potassium sulfate diluted in a bucket of water are enough.
Soil mulching
Turnip is moisture-loving, therefore regular watering is very important, especially in the first time. Drying of the soil must not be allowed, otherwise seedlings may die. To preserve moisture in the soil, mulching is used. They cover the soil around plants with peat, hay, straw, mowed grass, husks of sunflower or rotted sawdust. Such a layer does not allow the sun and wind to dry the surface of the earth and inhibits the growth of weeds. Creating comfortable conditions for underground residents, mulch improves the structure and fertility of the soil and, as a result, increases the yield.

Mulching will retain moisture in the soil and inhibit weed growth
Predecessors and neighbors for turnips
For successful turnip cultivation, as well as for many other vegetable crops, crop rotation is very important. You can not plant this culture after plants similar to it - all kinds of cabbage, radish, radish, mustard and other cruciferous. The best predecessors for turnips will be cucumber, potatoes, carrots, beets and onions. These plants and unwanted neighbors for turnips. Turnip planted well after peas, beans, tomatoes, celery or in the neighborhood with these plants feels good.

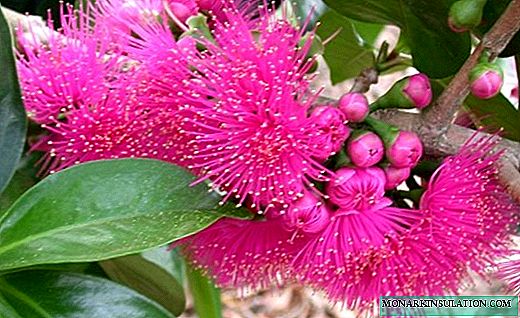
Marigolds and calendula are the best neighbors for all cabbage and turnips, including
My childhood memories are connected with turnips. Every year in the summer I was sent to my grandmother in the village, and these were really happy times. Freedom, air, river, forest and a lot of free time. And turnip - for some reason it was especially remembered. Grandmother was a noble gardener, and all her vegetables grew and pleased both adults and children. Turnip turned out to be just a fabulous beauty - large, smooth, bright yellow, like the sun. Grandma baked it in the oven with mushrooms or with meat, when it’s like, and not in a clay pot. First, she boiled the root crop in water, then she cut off the top in the form of a lid and took out the pulp with a spoon - it turned out to be a turnip pot. Filled it with stewed mushrooms or meat mixed with turnip pulp, and put it in the oven. The dish was fragrant and very tasty. Now, with a cold, we cook black radish with honey - a good cough remedy. Grandmother treated us with turnips, and who then heard about black radish. Hollowed out a groove in a raw turnip and filled it with honey. After a few hours, honey in turnips turned into juice. We drank this medicine with pleasure, and it helped not only from coughing, but also from the common cold.
Undeservedly forgotten and supplanted by potatoes at one time, turnips are ready to return to our gardens. It is not difficult to grow it and it grows, due to its unpretentiousness, even in the most severe climatic conditions. Turnip dishes prepared according to old recipes will delight the new taste of gourmets and fans of healthy eating.